
Hello Readers! Izzy here. Monday is almost over
and I nearly forgot to post this week's episode of Mini-Monday!
I'd like to apologize for the quality of these pictures. I'm afraid I didn't have very good lighting
when I took them. I did edit them, but they still may not be of the best quality.
Now let's get on with making and baking!! :)
Make and Bake a Pie For Your Mini-Doll!

You will need:
Ecru or tan polymer clay (or any oven bake clay)
Blueberry colored polymer clay (or any oven bake clay)
Blue polymer clay (or any oven bake clay)
Metal bottle cap
Brown, yellow, orange, and tan chalk pastels (not pictured)
Toothbrush used for clay (not pictured)
Ball tool (not pictured)
Small rolling pin (not pictured)
Polymer clay blade (not pictured)
TLS Translucent Liquid Sculpy (not pictured)
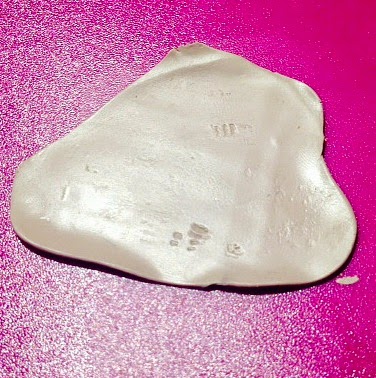
You want to start off by rolling out your ecru clay to about as thin as a pie crust.
It's O.K. to have a few marks on it like I did.

Place your rolled clay on top of your metal bottle cap.

Take your ball tool and press it into the bottle cap making the shape
of the bottle cap.

Press it into the edges as well.

After pressing into the edge for a while the clay will start to break off. Take off all the
excess clay. Remember to be gentle.

If you want, you can add some texture using a toothbrush.
You can also brown the edges with chalk pastel. I did both of them.

Then roll out some more ecru clay and, using your blade, cut thin rectangles
out of the clay.

Take four of the strips and set them out.

Take four more and begin to weave them together. If you do not know how
to weave a pie top, click here. Remember to be careful and gentle.

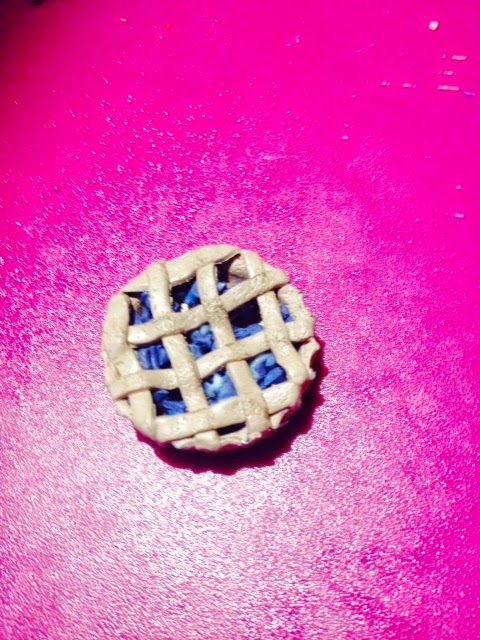
Here is my finished pie top. Just like the pie base, you can choose
to add texture and chalk pastel. I did both.

Then take both your blue clay's and cut them into very small pieces.

Add some TLS to them and mix it around.

Add your blueberries to the pie.

Then take your woven top and place it on your pie base,
pressing gently into the edges.
Using a ball tool and blade cut off the excess.

If you want, you can cut out a small slice.
Bake, Glaze, and you're done!


Mini Marie-Grace decided to have some grapes and hazelnuts
with her pie. :) Yes, I did make them out of clay.

I am sorry if there were a lot of steps to this tutorial.
Making the pie is relatively easy, but it is time consuming-mainly because
everything is so tiny. :) Thank you for reading!!
In a while!!


No comments:
Post a Comment
"If posts are the brain of a blog, then comments must be it's heart."
-N.K
I love receiving and reading your comments, but please make sure to be considerate of other's feelings.