Hej och välkomna till dagens avsnitt av mini-måndag! (Hello and welcome to
today's episode of Mini-Monday! Swedish.)
Here is the Loft Bed part 2 for y'all. My friend Sasa came over and helped me make it. :)
Please note: This post does not include the tutorial for the chair, and I will show
you how to make it and the bedding soon.
You Will Need:
Air Dry Clay
Scissors
Pencil
Paint of your choice
Cardboard
An assortment of Woodsies
Hot Glue Gun
Modpodge
Ruler
Cork Paper
Ribbon of your choice
Paint Brush
I started off by making the stilts with air dry clay. They were 7'' x 1 cm.
Here are the 4 of them.
I cut out strips of cardboard the same length.
I used Modpodge to glue it on because hot glue will not work on clay.
For the ladder I used woodsies. Unfortunately my longest woodsie was about an
inch to short so I had to use another one.
Using smaller woodsies to make the steps.
Then I painted the ladder blue. Our main colors are blue and white.
Here are the finished stilts.
We also cut a piece of cardboard 8 1/2" x 7" for the back wall.
We also painted that blue.
For the left side wall we cut a piece that was 7" x 4" and painted it white.
We actually glued the stilts on top of the wall because then the wall would
have been to long, but you can glue them either way.
Here you can see the loft bed starting to come together.
We had to use modpodge and hot glue because neither would
work by themselves.
Please excuse the finger. :)4
Marie-Grace fits perfectly!
We felt like the stilts were a bit plain, so we added blue polka dots
to the front ones.
To make the desk we cut out a piece of cardboard that was 3 1/2" x 2"
and painted it.
Then to make shelves we simply cut out woodsies that were 2" long.
To make a storage bench we used 2 2" long Popsicle sticks
glued together for the top and bottom.
For the sides we used 2 1" pieces of Popsicle sticks.
Then we made another piece the same size as the sides
and glued it in the middle.
We glued on the shelves..
And painted and glued the the storage bench
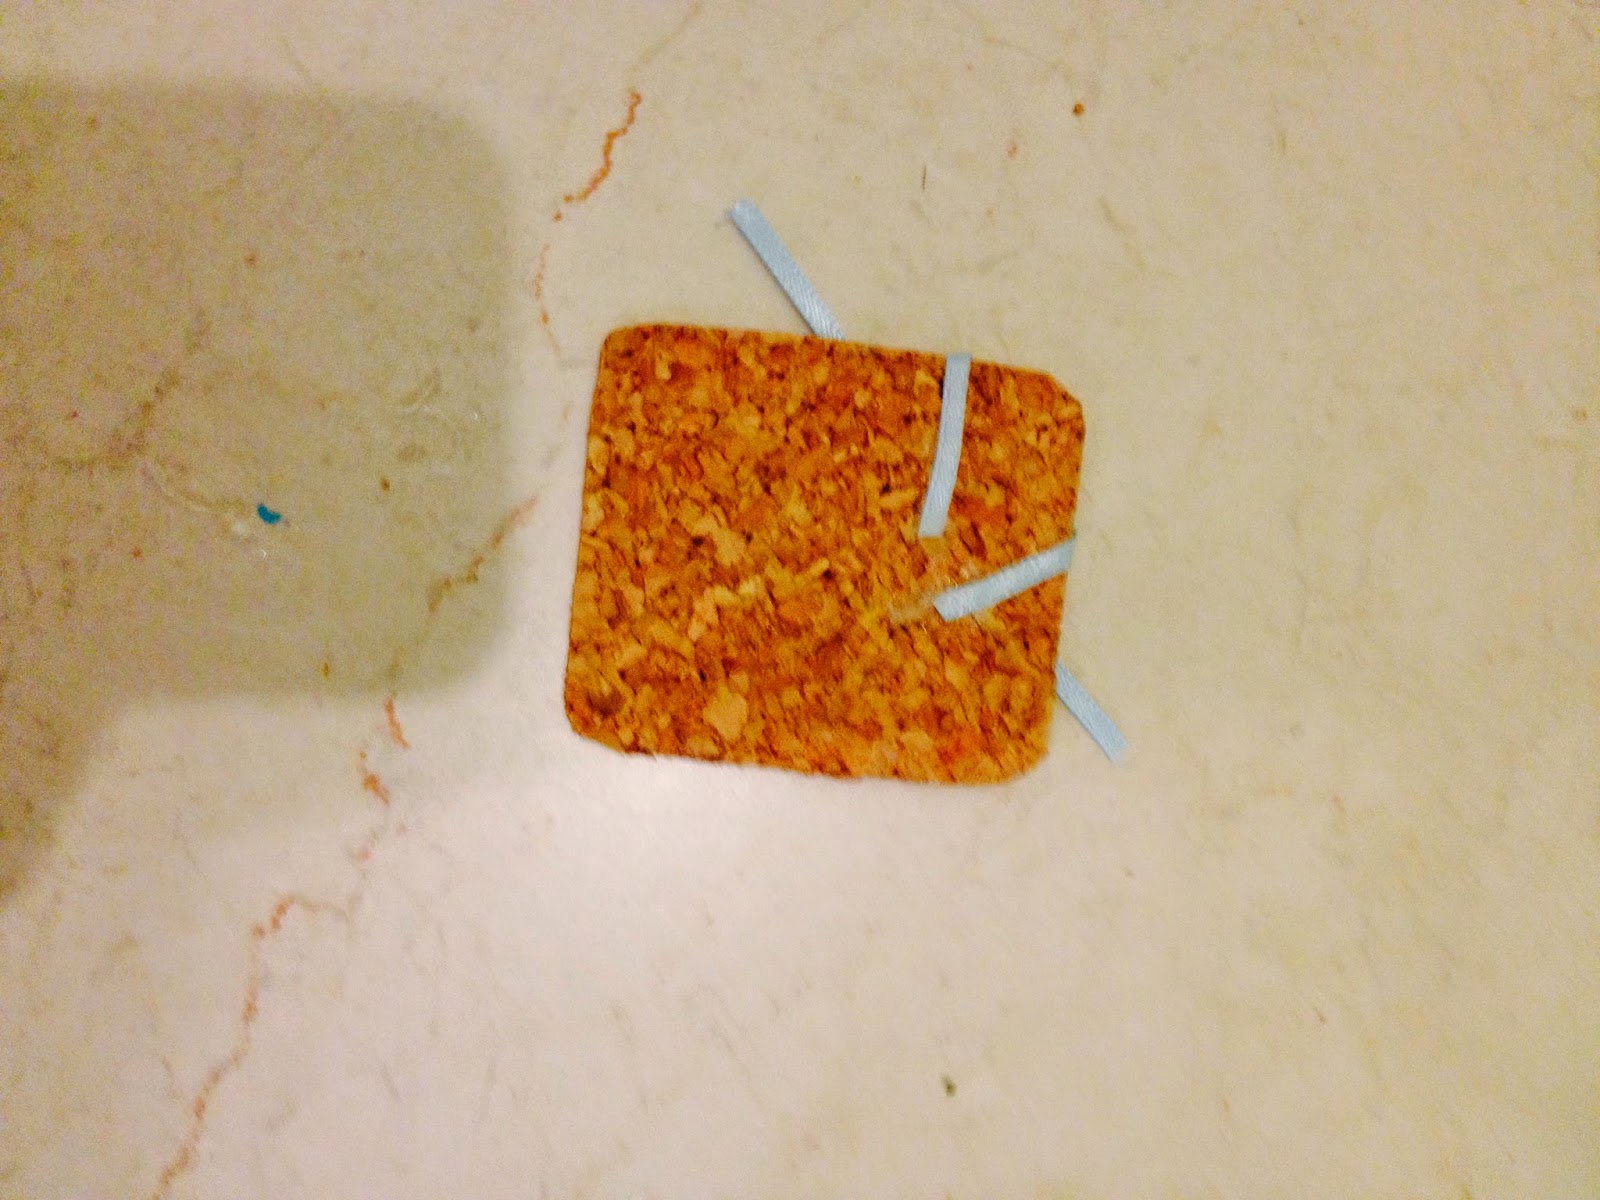
To make a bulletin board, we used a 5 1/2 cm x 5 cm piece of
cork paper.
I cut off the corners, but this is optional.
Using blue ribbon I made the lines.
Simply cut out the length of your desired ribbon..
Use hot glue to glue it in the front.
Then flip it over and do the same in the back.
I repeated this across the board.
Using a thicker ribbon of the same color I glued it on the sides.
I know this wasn't really a full tutorial, but it's really all up to you on how you would
like it to look. I will hopefully be bringing back Sew-It-Sunday, but will not be
making only plushies. I might do a Sew-It-Sunday this Sunday on a quick tutorial on how to
make the bedding. When I finish the bedding I will reveal the loft bed. I will probably just add a small chair tutorial in addition to my next Mini-Monday post. Look out for a giveaway this week.
Make sure to follow, comment, and like! Thank you for reading!
In a while!!


Wow I`m impressed Aliah. You`ve made it so professionally and in detail. What I like the most is that blue ladder and the puny bulletin board. Good Job ❤︎______❤︎
ReplyDelete